1. Install the plugin
- Choose your download channel.
For the WordPress.org edition, open Plugins → Add New Plugin and search for ZEISMO SEO; select Install Now, then Activate. For the direct edition, open the ZEISMO marketplace and choose the download button. Register or sign in, then save the ZIP from your private one-time link. You can request a fresh link later from ZEISMO SEO in your client portal.
- Upload it in WordPress (ZIP downloads only).
Sign in as an administrator. Open Plugins → Add New Plugin → Upload Plugin, choose the ZIP, and select Install Now.
- Activate ZEISMO SEO.
Select Activate Plugin. The setup wizard opens after activation. If you already have another SEO plugin, use the import guide and avoid leaving overlapping SEO plugins active.
2. Review site essentials
The first wizard screen shows the WordPress settings that need your attention. Only the changes you select will be applied; a setting that is already configured may not appear as a proposal.
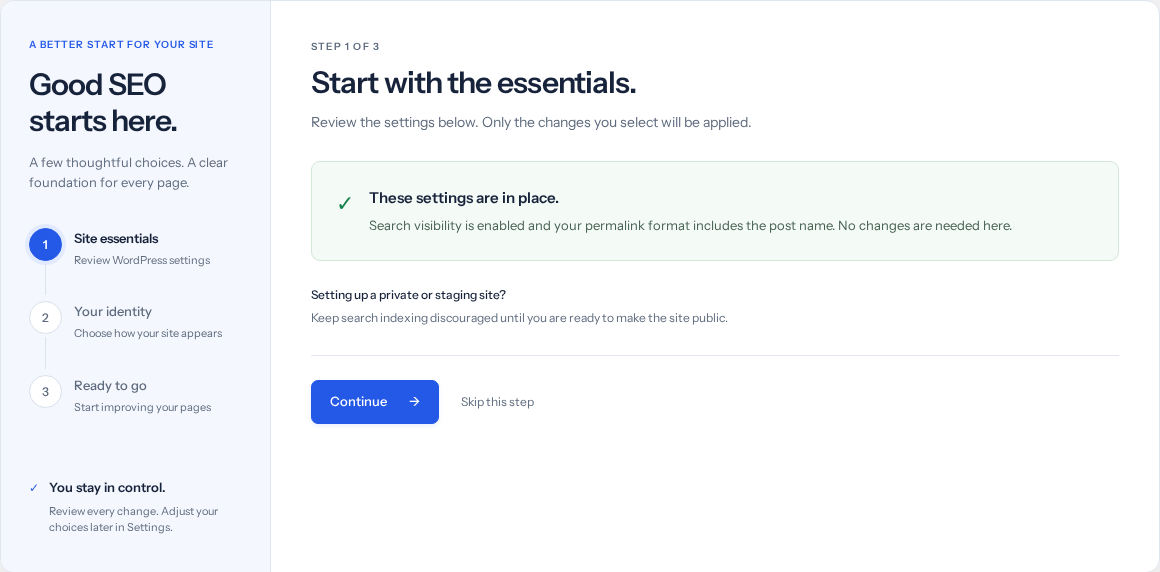
- Decide whether this site should be public.
Select Allow search engines to index this site only if the site is ready to be discovered. Leave it unselected on a private or staging site.
- Review the URL proposal.
If Use readable URLs is offered, review the current and proposed permalink structure. Existing URLs can change, so an established site may need redirects. Do not select it merely to finish setup.
- Continue with your choices.
Select Continue to apply selected changes. Skip this step keeps your current WordPress settings.
Check your result: You reach the identity screen. Unselected WordPress settings remain unchanged.
3. Choose your site identity
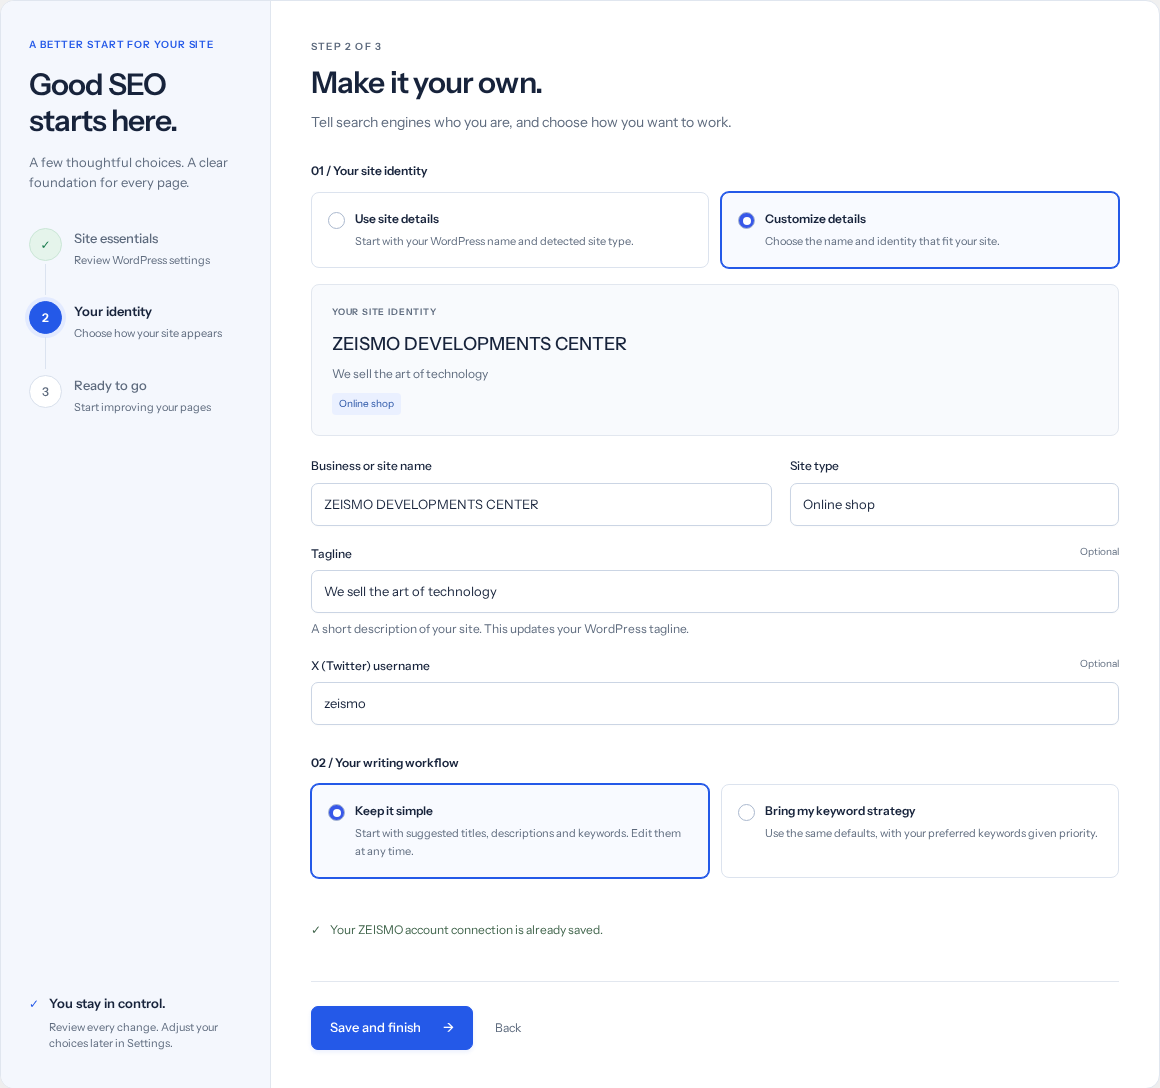
- Use your existing details or customize them.
Choose Use site details to start from WordPress, or Customize details to enter your business or site name, site type and optional social username. The preview updates as you type.
- Review the tagline.
In the custom details form, the tagline updates your WordPress tagline. Leave it blank only if you intend to clear it.
- Choose your writing workflow.
Keep it simple starts from suggested titles, descriptions and keywords. Bring my keyword strategy lets you provide preferred phrases, one per line. These phrases are your choices, not measured search-volume data.
- Connect AI only if you want it now.
If no account is connected, expand Add ZEISMO AI. Review the consent text before providing an email. You can skip this and connect later through Plans. An existing connection shows a confirmation instead.
- Save your setup.
Select Save and finish. If a validation message appears, correct the highlighted details and submit again.
4. Confirm and open your dashboard
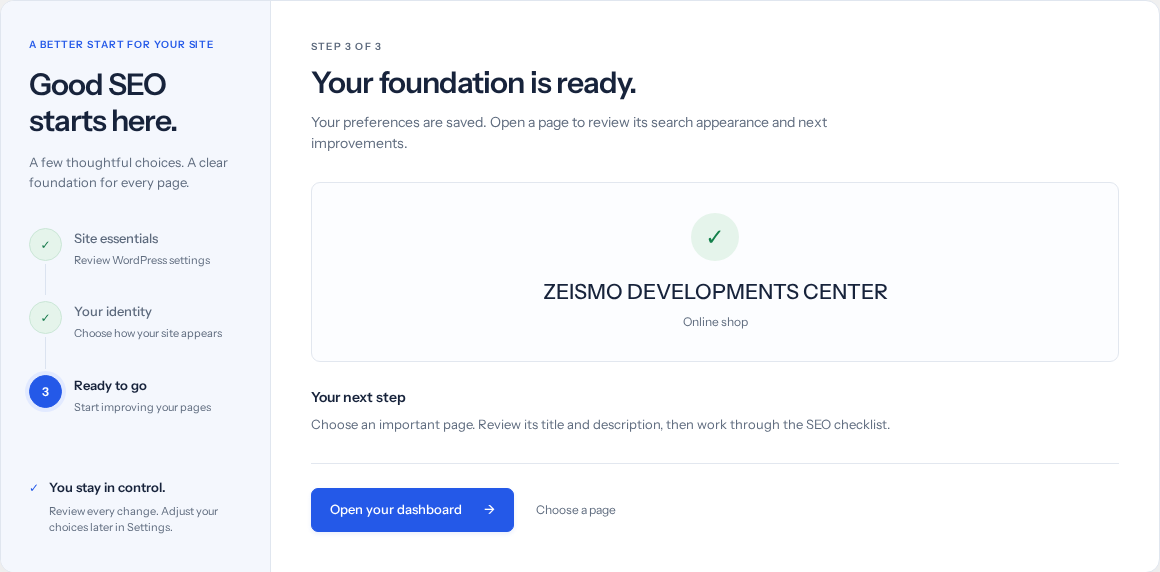
The final screen confirms that your preferences were saved. Select Open your dashboard, or Choose a page to start editing.
Check your result: Open the dashboard, then revisit setup if needed. Your saved identity and workflow should still be selected.
5. Find your next task
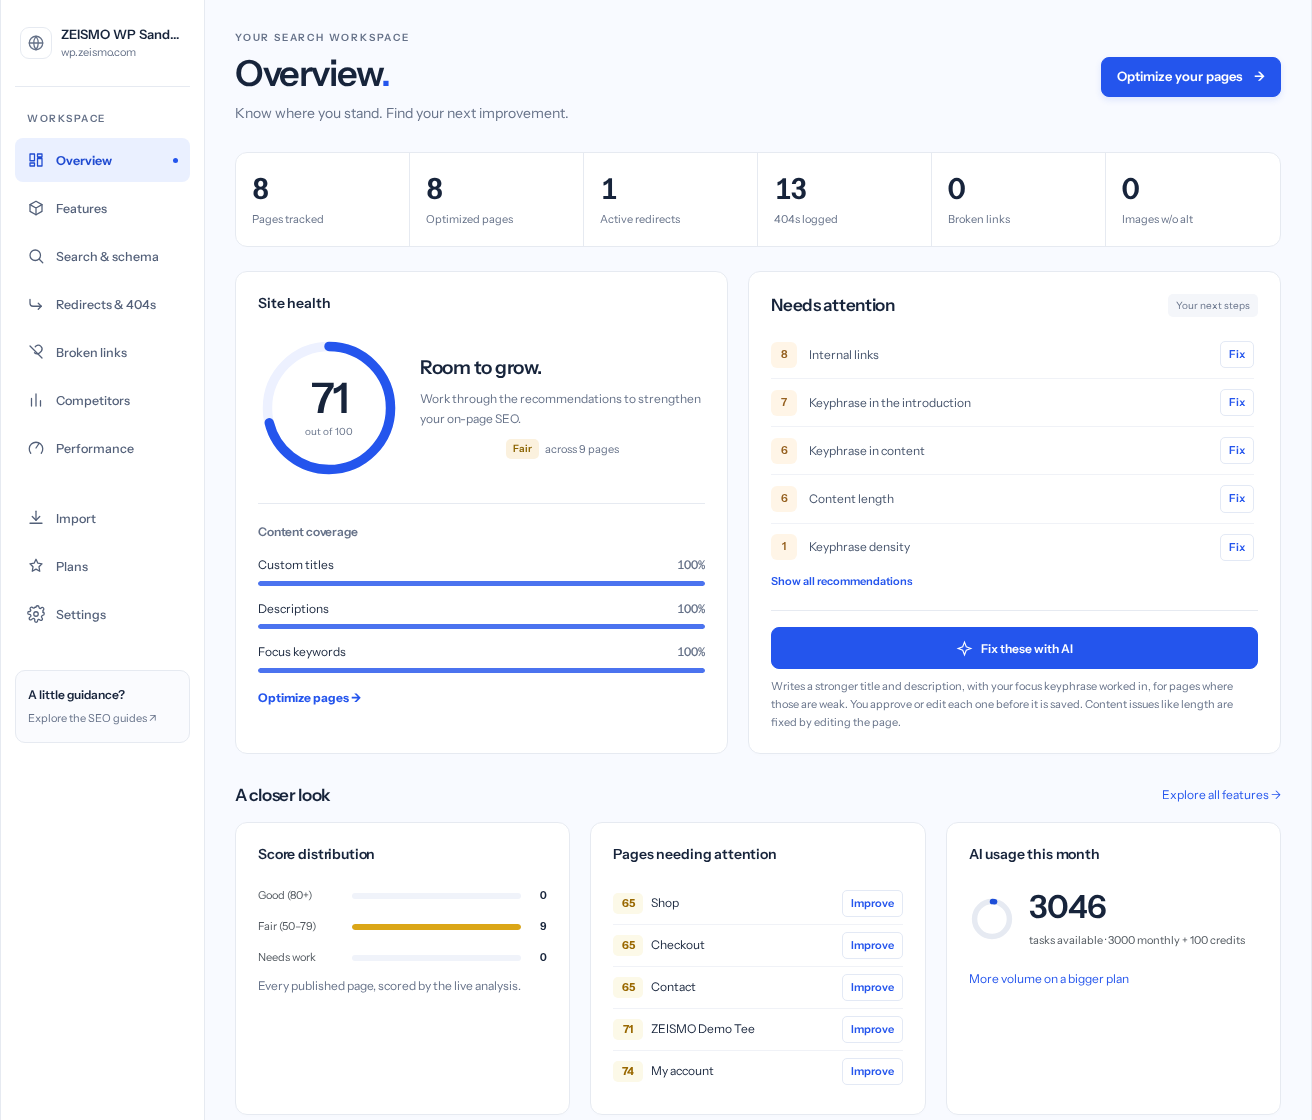
Use Needs attention to choose an improvement, or open a page from Pages needing attention. The navigation on the left opens Features, Search & schema, site tools, Plans and Settings.